

Categories
All
Agriculture
Airbag Reset
Alfa Romeo
Aston-martin
Audi
Auto Accident
Auto-insurance
Bentley
BMW
BMW Courses
BMW HDD
Bmw Headunit
Byd
Cadillac
Chery
Chevrolet
Chrysler
Citroen
Cluster
Commercial Ads
Coolant Systems
CUPRA
Dealer Package
Dodge
DTC Fault Codes
ECU Courses
ECU Tester
Electric Hybrid
Electronic Repair
Electronics & Parts
Emission Env.
Engines Diesel
Engine Sensors
Engines Petrol
Engine Tuning
Exhaust Systems
FADOS Fault Locator
Ferrari Maserati
Fiat
File Service Portal
FORD
Fuel
GAC
GMC
Haval
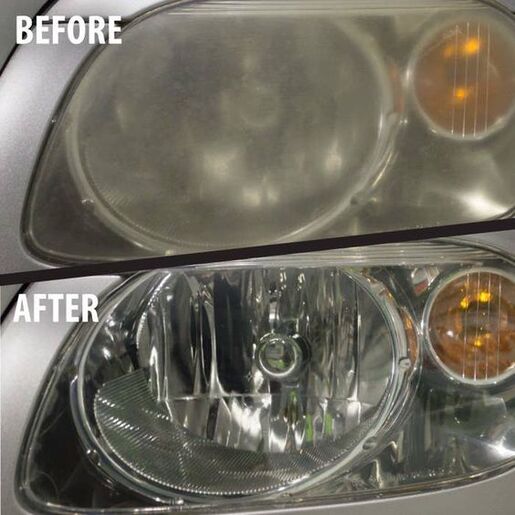
Headlights
Headunits
IC Testers
IGBT Mosfet Tester
Industrial Auto
Isuzu
Iveco
Jac
Jaguar
Jeep
Key Programmer
Kia Hyundai
Lamborghini
Landrange Rover
Lincoln
Lotus
Mahindra
Mazda
Mclaren
Mercedes
MG
Mit Canter Fuso
Mitsubishi
New Holland
Nissan
Opel
Pagani
Peugeot
Pops Bangs
Porsche
Programmers
Renault
Repair Manuals
Rivian
Seat
Skoda
Ssangyong
Suspension
Tesla
Toyota
Transmission
Trucks DAF
Trucks Engine Tuning
Trucks MAN
Trucks Mercedes
Trucks Scania
Truck Volvo
Tuning Courses
Turbocharger
Vauxhall
Volvo
Vw Volkswagen